Private Label Lip Gloss Launch for Beginners: An 8‑Step Plan to Vegan Non‑Sticky Formulas, MOQ Strategies & Real Unit Costs
Ultimate Guide to Launching Private Label Lip Gloss Like a Pro
Why Lip Gloss Is Your 2025 Brand Launchpad (+Trend Data)
Lip gloss has returned as a discovery driver for challenger beauty brands. If you want a high-margin, visually compelling SKU that plays well on socials, a vegan non-sticky lip gloss is one of the smartest first products to private label.
- NPD Group reported renewed consumer spend on lip gloss finishes in 2024 vs 2023, driven by influencer-driven seasonal drops (Source: NPD Group, 2024).
- Google Trends and marketplace search data showed rising queries for non-sticky gloss and vegan lip product terms through 2023–2024 (Source: Google Trends, 2024).
- Industry reports note clean/vegan claims influence purchasing decisions for 30%+ of Gen Z and Millennial buyers (Source: market reports, 2023–24).
Analogy: choosing your first gloss shade is like building a capsule wardrobe — five versatile pieces will cover most looks and reduce inventory risk.
8-Step Plan: From Idea to First Order
Step 1: Narrow Your Concept
Decide on one hero benefit. Examples: non-sticky hydrating gloss, sheer tint with hyaluronic acid, clear plumping top coat, or glitter top gloss. Keep it specific — your marketing and formulation should align around that single promise.
Step 2: Formula Foundations — Beginner-Friendly & Vegan
Non-sticky glosses typically favor lightweight esters and low-polarity emollients that provide slip without tack. Many brands opt for anhydrous formulas to simplify preservation but you can use a water-containing system with a robust preservative if you want humectants like glycerin or low-% hyaluronic.
-
Simple example formulation ranges (for lab discussion only):
- Light ester blend (isononyl isononanoate, C12-15 alkyl benzoate): 30–45%
- Caprylic/capric triglyceride or MCT oil: 10–18%
- Film former/suspending agent (synthetic or natural alternative): 3–6%
- Gloss agent (polybutene or plant-based alternatives): 10–20%
- Humectant (low % glycerin or low MW hyaluronic solution if water-based): 0.1–1.0%
- Pigment load / mica / opacifiers: 1–6% depending on shade
- Preservative (if water present): as required; or use anhydrous preservative strategy
-
Formula Checklist:
- Choose vegan-friendly raw materials and request supplier declarations.
- Prioritize low-tack esters and light emollients for a non-sticky feel.
- Design for pigment suspension to avoid settling and migrate issues.
- Plan for accelerated stability and microbiological testing early.
- Ask your manufacturer for sample feel strips and wear testing data.
Never skip stability testing! It ensures a consistent sensory profile and shelf-life. Skipping it creates returns, regulatory headaches, and brand damage.
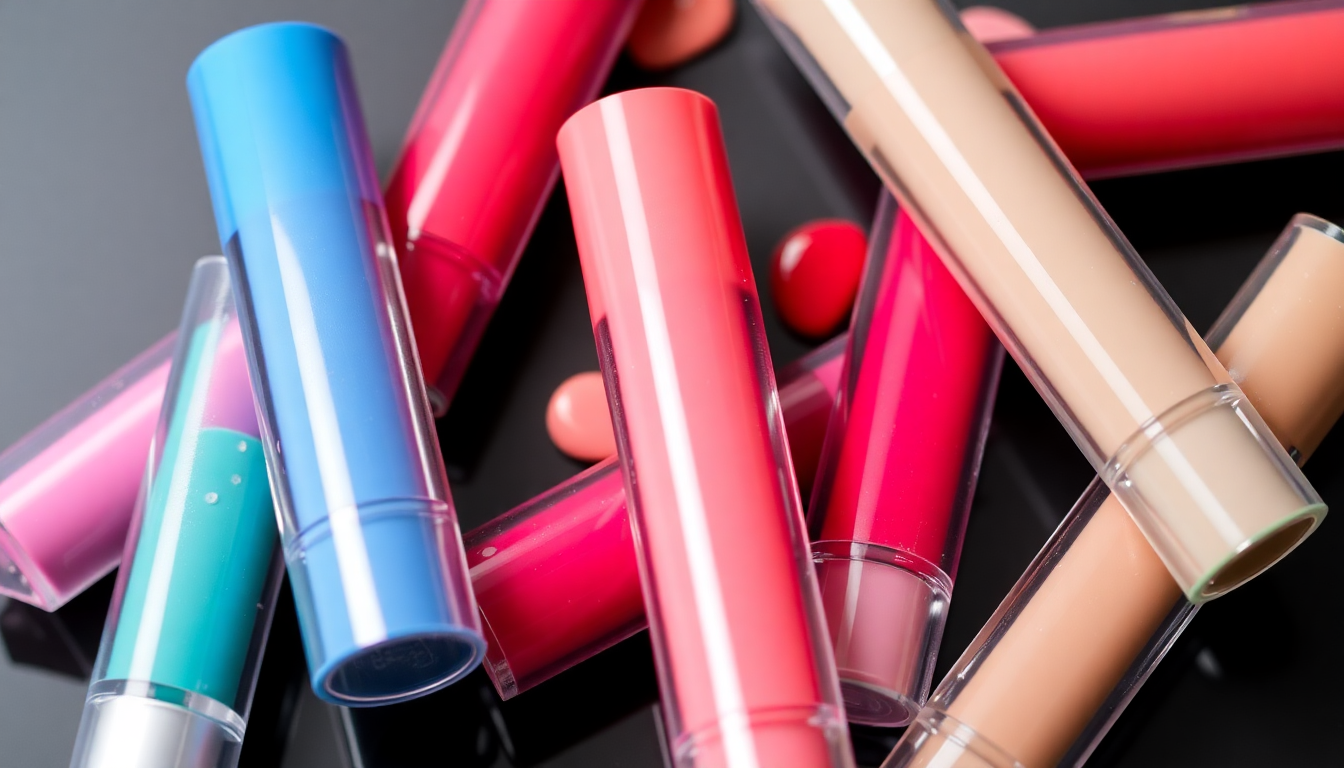
Step 3: Packaging That Sells — Cost, Aesthetics & Sustainability
Packaging choices dictate MOQ, per-unit cost, and perceived value. Standard transparent tubes with doe-foot applicators keep costs low, while acrylic or glass elevates the unboxing experience.
-
Packaging Checklist:
- Entry-level: plastic tube + doe-foot — typical cost under $0.80/unit.
- Mid-tier: frosted acrylic tube or custom-printed body — add $0.40–$0.80/unit.
- Premium: glass tube + metal collar and outer box — add $1.00+ per unit.
- Sustainable upgrades: PCR plastics, sugarcane-based tubes, refillable systems. Ask for certificates and carbon data.
- Tooling: avoid custom molds for first run — use standard components to lower MOQ and lead time.
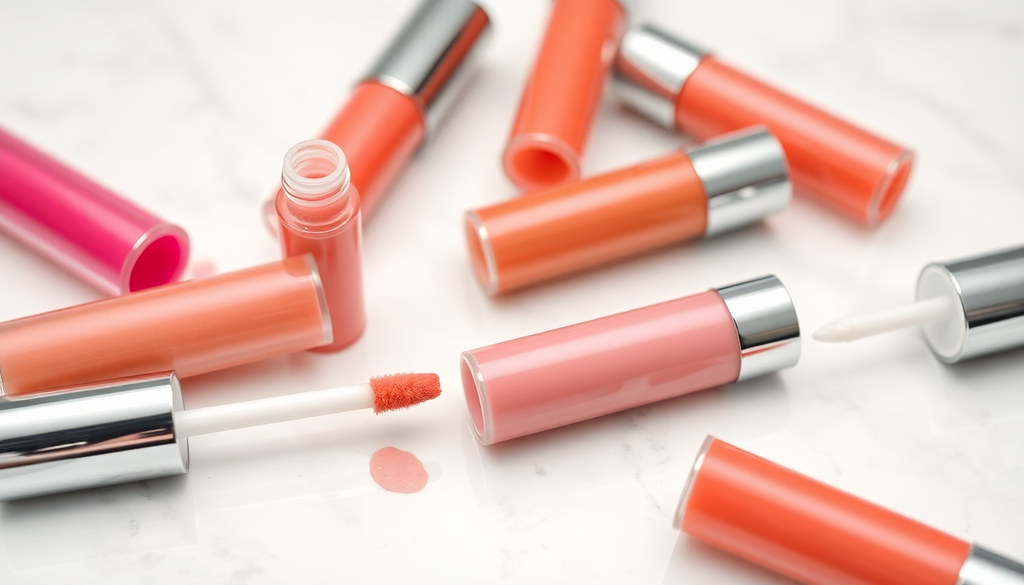
Step 4: Color Strategy — 5 Starter Shades & Pantone Guidance
Select five shades that cover a wide range of consumers and seasons. Think multi-use: each gloss should layer with or without lipstick.
- Starter palette: Clear Sheen, Cool Nude, Rosy Mauve, Peach Glow, Deep Berry.
- Approximate Pantone cues: Cool Nude (Pantone 13-1006), Rosy Mauve (Pantone 16-1720), Peach Glow (Pantone 14-1228), Deep Berry (Pantone 19-1726). Use these as color starting points with your lab for pigment matching.
- Color Checklist: test shades on different skin tones, confirm opacity and settling, and request digital and physical swatches from your manufacturer.
Step 5: Real Unit Costs & MOQ Strategy
Be realistic with costs. Below are typical ranges for an entry vegan non-sticky gloss at common MOQs.
- Ingredient cost (per unit): $0.30–$0.90 depending on actives and pigments.
- Primary packaging: $0.40–$2.00 (plastic to premium glass).
- Fill, labeling, packing: $0.20–$0.50.
- Testing & certification amortized: $0.05–$0.30.
- Estimated landed production cost: $0.95–$3.70/unit. Most first-time brands see $1.20–$2.50/unit at MOQs of 500–2,000.
MOQ Tactics:
- Negotiate color splits (e.g., MOQ 1,000 but allow 200 units per color).
- Ask for sample runs or lab sample kits to validate before full production.
- Consider a pre-order or influencer capsule to fund the first run and prove demand.
Step 6: Testing, Regulatory & Hidden Costs
Factor in:
- Preservative efficacy testing (challenge test), stability (accelerated and real-time), and microbial limits.
- Label compliance, ingredient declarations, and any country-specific registration fees.
- Claim verifications like vegan or cruelty-free certification — these add cost but drive conversion.
- Insurance, third-party lab fees, and potential rework if a batch fails QC.
Hidden Cost Checklist:
- Certification fees and renewals.
- Samples and color-matching rounds.
- Freight, customs duties, and warehousing for unsold stock.
Step 7: Launch & Inventory Planning
Start small and iterate. Use a pre-launch to validate shades and messaging. If you’re launching DTC, plan promotions for a 7–14 day launch window and have a conservative restock plan.
- Inventory rule of thumb: aim to sell through 60–80% of the initial run before scaling.
- Use influencer seeding to generate content and early reviews — micro-influencers often drive higher conversion per dollar than mega-influencers.
- Plan replenishment lead times into your marketing calendar; production can take 8–14 weeks from sign-off to finished goods depending on packaging availability.
Step 8: Manufacturer's Corner — What to Expect & What to Ask
Choose a manufacturer with transparent cost breakdowns, testing capability, and flexible MOQ options. Here’s how to evaluate them.
-
Manufacturer Checklist:
- Do you produce vegan lip products and can you provide ingredient declarations and vegan/cosmetic certificates?
- What MOQs do you offer per SKU and are color splits possible?
- Can you run accelerated stability and preservative efficacy testing in-house?
- What is your batch traceability and QC acceptance criteria?
- What lead times do you commit to for packaging and fill, and what are typical delays?
Expected timeline with a responsive manufacturer:
- Week 1–2: Briefing, formula selection, packaging options.
- Week 3–6: Lab samples and 1–2 revision rounds.
- Week 7–10: Stability and microbiology testing.
- Week 11–16: Production, fill, QC, and final shipment.
Final Practical Checklists Before Ordering
-
Pre-Order Checklist:
- Approved final formula and ingredient list.
- Physical swatches and at least one stability report.
- Packaging samples and mock-ups signed off.
- Clear MOQ agreement and payment/lead-time terms.
-
Launch Checklist:
- Professional product photography and swatch assets.
- Label copy compliant with target market regulations.
- Inventory & restock plan aligned with marketing calendar.
-
Post-Launch Checklist:
- Collect customer feedback and evaluate returns.
- Track sell-through per shade and reorder bestsellers first.
- Plan incremental upgrades (e.g., premium packaging or seasonal shades).
Key takeaways: Start with one clear benefit, prioritize a non-sticky vegan formula, use standard packaging to keep MOQ and costs manageable, and insist on stability and microbiology testing. Treat your first launch as an experiment — validate demand quickly and scale proven SKUs.
Ready to formulate and compare MOQ options? Request our Lip Gloss Starter Kit and exclusive custom cosmetics pricing: [CONTACT PAGE]